
Introduction
From creative tools to those that assist in improving healthcare, AI is powering various new experiences. However, many of these tools are downright gimmicks, and even if they aren’t, you may have to navigate an ethical minefield to use them. So, I decided to do some of that work for you! This time, I’ll share some research on tools that I think might be relevant to my job as an Industrial Designer here at Tomorrow Lab, and next time, I’ll test them! (Step 1, I used ChatGPT to help me edit this paragraph, original text below).
Artificial intelligence has been slowly working its way into our lives over the last year or so and it looks like it is here to stay. From tools for design, art, and writing to those that help you get better healthcare, AI is powering all kinds of new experiences. But many of these tools are still seen as gimmicks and even if they aren’t you may have to weave through an ethical minefield to use them. So I decided to put some of the most popular tools for product design/development to the test and figure out, how can I use these in my daily workflow and are they actually helpful?
A Preface on AI Ethics
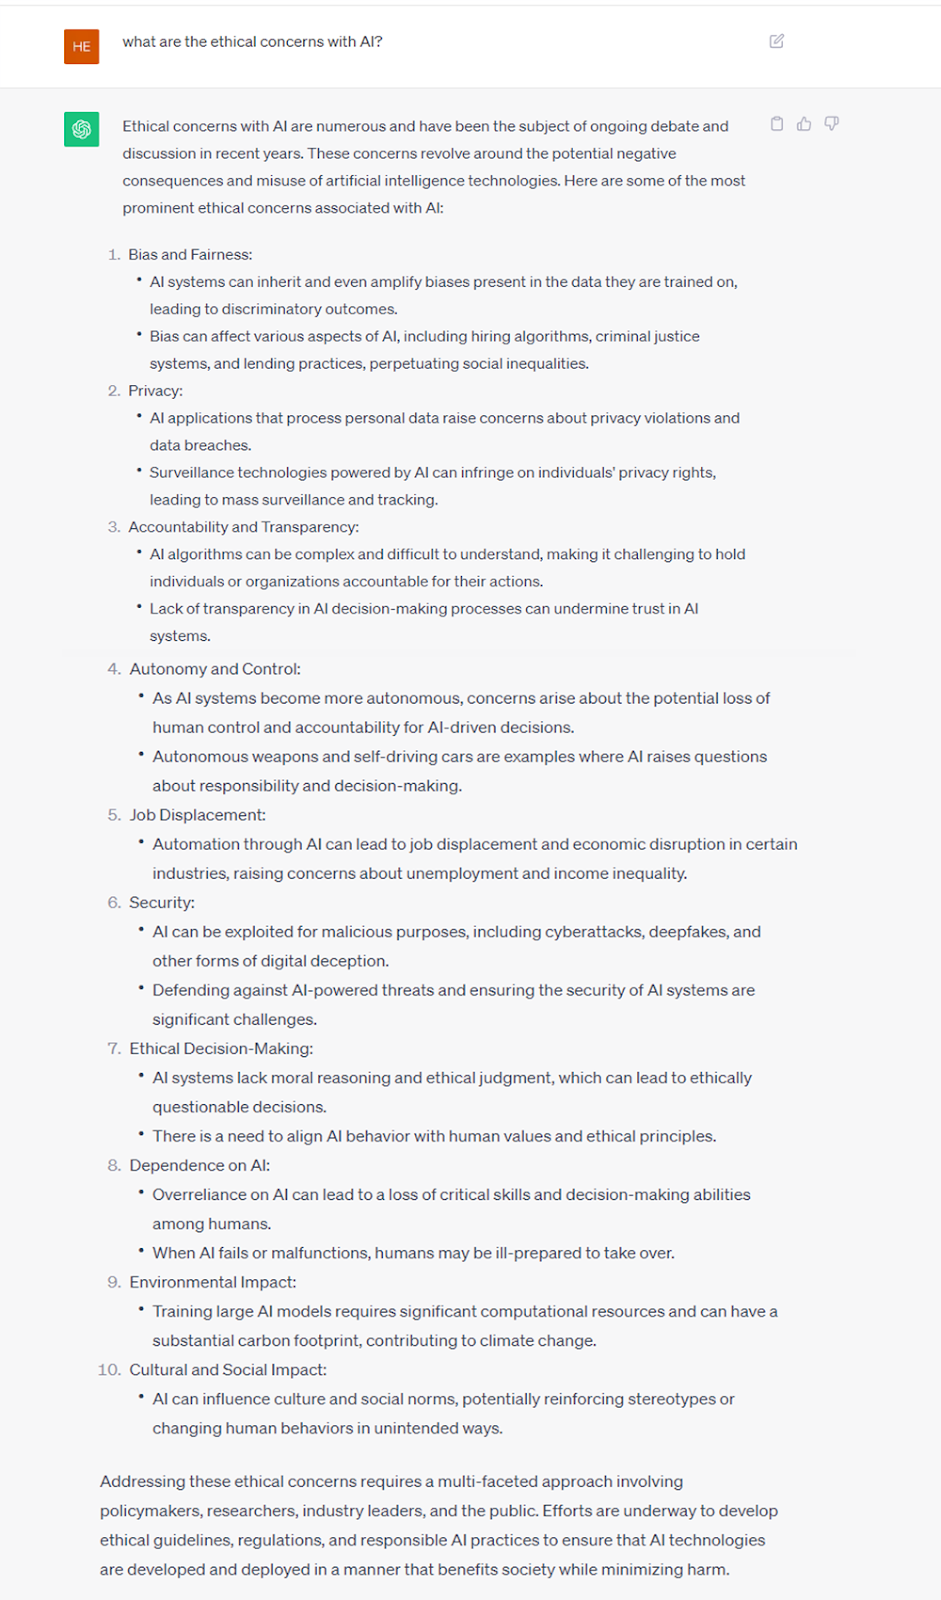
Before diving in further, let’s talk about the ethics of Generative AI tools. There are several ethical concerns in the world of AI, but…. that could be an entire separate article! (See below image for a starting point from ChatGPT, ironic right?). Anyways, for this, I’ll only focus on the ethical concerns that apply more specifically to design:
1. Bias
AI models are trained from information that people either give them directly or information that the model itself collects. There is no guarantee that this information is accurate, fair, or unbiased. If the model collects bad information, it’s going to make bad choices. As the old saying goes “garbage in, garbage out” or in this case “bias in, bias out.”
2. Creative Credit
Since AI models are amalgamating the ideas, information, and creations of millions of people, it is nearly impossible for them to give others credit for their “inspiration.” So then who gets credit for work created by AI? And who gets paid for that work, if anyone?
Is it the AI? The artist whose style the AI was asked to create in? Is it the person who is writing the prompt for the AI, even though they had no physical or digital hand in making the end result? The jury is still out on this one, but at the very least you should be crediting the AI tools you are using*, and directly selling work made with AI as purely your own, well that may be crossing an ethical line.
*Note: It’s worth reading more about the new CR tag that Adobe recently created. It tracks the history of an image, how it was made, and who made it. Read more about it on The Verge and the official CR tag website.
3. Accountability/Transparency
Finally, AI decision making is near impossible to understand. It’s like putting something into a box, shaking it up, and getting something else entirely out the other side. If something goes really wrong or is very successful, the AI is probably not fully responsible for that. So who is responsible? Who gets to benefit from the work the AI is doing? And who suffers?
What’s out there?
Okay, now that we’ve squeezed past that enormous ethical elephant in the room…. we can get onto the tools! There are so, so, so many AI tools out there, but I focused my search on ones that seemed like they might fit into my Product Design and Development Process. I’ve grouped them into three categories; Text to Image Tools, Image Refinement Tools, and Other Tools.
- Text to Image Tools:
These Generative AI tools focus on allowing you to create images from word prompts. You simply type in a description of the image, the more specific the better, and the AI model will spit out an image for you. Some also allow you to start with an image (either original or one the model has previously created) and use that as a starting point. These are probably the most well known creative AI tools, and the most contentious.
Some of the most popular are:- Midjourney
- A paid tool that runs in a Discord server (think Slack for niche hobbies)
- It has a strong concept art bias, a lot of the images made with the tool look like something made by Syd Mead.
- But it’s still extremely capable and it can make very clean images, even ones that are nearly indistinguishable from photographs.
- Midjourney can even help you write prompts! Upload an image and it can create a prompt based on that image which you can then use to make new images
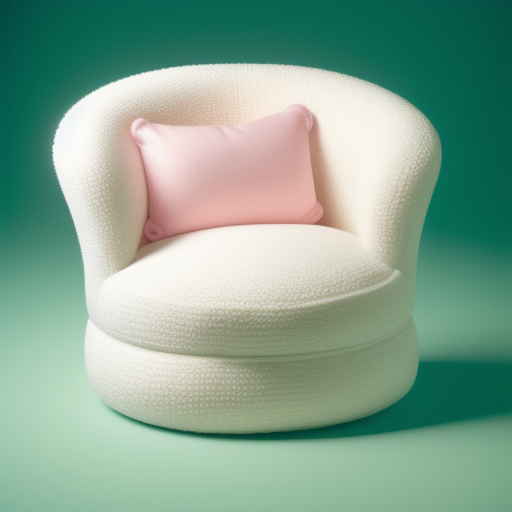
- Midjourney

Prompt Used: “photo of a white boucle armchair, without legs, on a brightly lit green seamless backdrop, taken with a 35mm film camera, pink pillow”
Great results from the first prompt, but could not get it to add a pillow. Might need more time learning
- Dall-E 2 (3 coming soon!)
- One of the first popular text to image AI tools
- A paid tool created by OpenAI (the same people who make ChatGPT)
- Dall-E has a bit more of a general art focus and is very easy to use
- Dall-E can also be used to add to and combine images with text prompts
- OpenAI is also working to address many of the ethical concerns of AI which is great!

Prompt Used: “photo of a white boucle armchair on a green backdrop, editorial style”
Dall-E was very confused when I used the same prompt as Midjourney/Stable Diffusion. I had to simplify to get a reasonable looking image.
- Stable Diffusion/DreamStudio
- A text to image tool made by Stability.ai (DreamStudio is their paid, more refined tool for general use)
- This is an open source tool with an API that any developer can use to integrate the model into any application they’d like. In fact, Tomorrow Lab has it’s own Stable Diffusion server trained on our own work!
- High level of control, but also a steep learning curve
Prompt Used: “photo of a pillowed white boucle armchair, wide, with a seat that is low to the ground, on a brightly lit green seamless backdrop, taken with a 35mm film camera, pink pillow”
Stable diffusion took many more tries to get to the same result, but I am very happy with this one. I was able to use images from previous versions of the prompt to slowly refine the image and because it was free I could play as much as I wanted. This is the only one that got the pillow right.
In my process, they might be useful for…
- Creating inspiration/mood defining images of things that don’t exist
- Adding context/backgrounds to rendered images of products
- Adding detailed materials and lighting to simple renderings
- Image Refinement Tools:
Tools in this category focus on helping creatives refine/speed up their work. They take an existing image (or images) and modify them based on a fairly simple text prompt. They vary a bit more than text to image generators, and each is powerful in its own right. These tools are also often more specialized and designed to fill a specific niche use.
I focused on:
- Vizcom
- A tool that lets you upload a sketch and turn it into a rendered image
- Super easy to use, and the prompts can be very simple
- The results are not always super refined, but it works well once you learn to work with the constraints
- Photoshop Generative Fill
- Part of the Adobe Firefly family of AI powered tools, this is a super powerful tool that is now built into Photoshop
- This tool allows you to select specific areas of images, describe what you want there (or dont want there) with a few words, and it will come up with several options that fit seamlessly into the rest of the image
- This is perfect for speeding up the process of photo editing. Want to add or remove something that’s ruining an otherwise perfect photo? Add a different background in a portrait? This can do it!
In my process, I could use these to…
- Quickly see what a sketch might look like as a 3D object
- Create a shaded underlay for a more refined sketch (from a rough sketch)
- Add backgrounds to rendered images for context
- Composite real images (like hands or people) into rendered images
- Writing & IP:
Finally, we have a few honorable mentions. These are tools which may not be useful in my regular design/development process, but can be helpful in other aspects of my job here at Tomorrow Lab. These tools help me do my job better, or just help me write a better blog article so I can get back to work 😉.
These are:
- ChatGPT
- One of the best known AI tools out there. Simply talk to it and it responds almost as if you were talking to a real human with the whole internet as a brain. Think CleverBot on steroids (Did you pick up that I’m a child of the internet yet?)
- You can get writing advice (like me), tips on the best places to eat in your city, and it can even write code for you (although it’s not always right, yet)
- ChatGPT is also a pretty good editor. You can ask for its opinion or even ask for the opinion of a long dead author.
- PQAI
- An open sourceAI powered patent search engine, and a new tool for me
- Simply describe the idea you’re thinking about patenting and it will pull up any potentially relevant patents
- This tool is pretty impressive and way better than my normal route of exhaustively searching google patents until I can’t find anything else relevant
Useful for…
- Helping me write blogs
- Summarizing large amounts of text
- Finding patents so I don’t accidentally design something that someone already has a patent for
That’s great, but is it useful?
Yeah, fair, that was a lot of information! But, I hope the little chunks made it more digestible, they certainly helped me figure out how I might use these tools! So now I’m starting to see a bit of a process I might be able to use for product design, and I think it’ll look something like this:
- Sketch out some ideas for a product.
- Use Vizcom to create some shaded underlays that I can sketch over to think through more details of the product.
- Once I have it figured out, create a quick 3D model in Solidworks.
- Then, I’ll make some very basic renders using Keyshot and use Stable Diffusion to add detailed lighting and texture to them.
- Finally, I’ll use Photoshop Generative Fill to add context, help me touch-up any mistakes, and finalize the visuals of my concept.
Alright, I’m going to head off and get back to work, but I’ll see you in part 2 with the results of this test. I don’t know about you, but I’m excited to see whether these tools are actually ready to help me do better work, or if they fall short!?
Cheers!
If you like what you saw here, and want to learn more about how we work, check out these articles and case studies:
- How We Work
- Considerations for Hardware Entrepreneurs
- Exponent – On the spot mixing for the freshest possible skincare
- Packet – Low cost, easy to mail, mass data storage
And if you’ve got an idea for a cutting edge hardware product that you want to see made – get in touch here.
Leave a Reply